

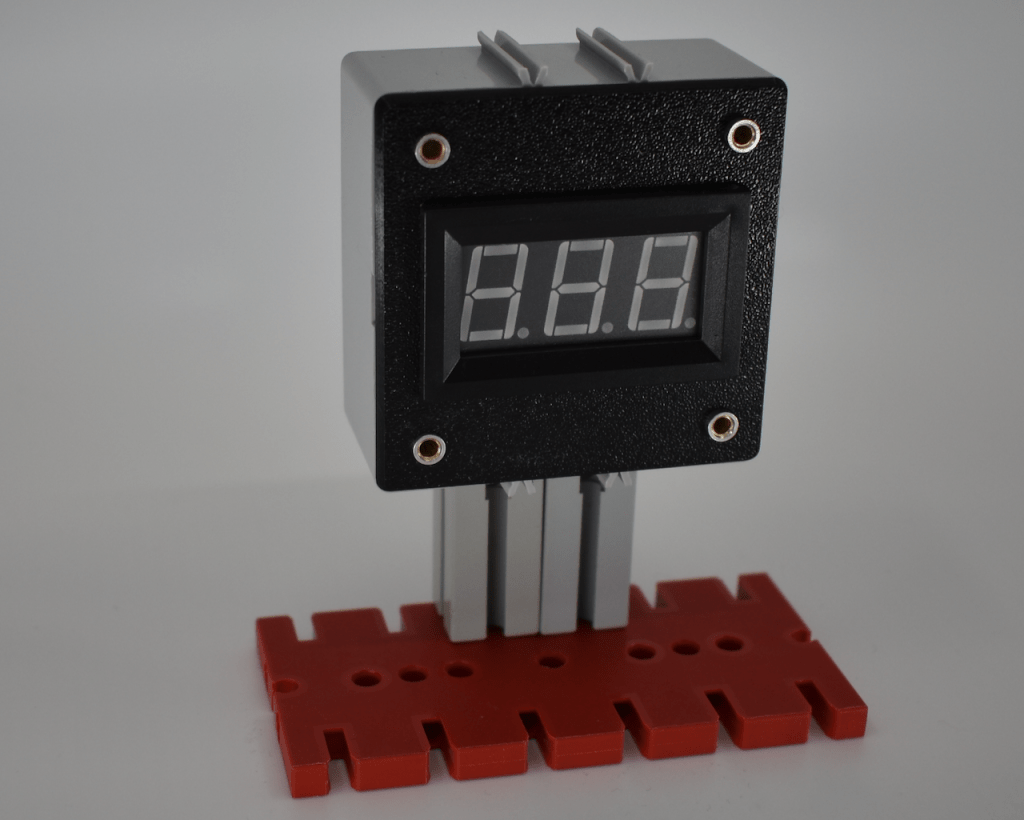
I took a detour on the road to powered speakers and remixed the cassette lid I previously designed in order to hold a panel mount voltmeter from Adafruit. I set out with a few goals:
- Blend reasonably well with fischertechnik parts without requiring modifications to those parts.
- Have two connectors each for positive and ground, so the module can be chained with other modules.
- Use connectors that work as well as possible with fischertechnik plugs.
One of the challenges I have run into is finding connectors which work with the 2.6mm fischertechnik plugs. After several false starts, I found these Mill-Max connectors at Digi-Key. They accept plugs of diameter 2.13mm to 2.59mm. So, I’m pushing a hair past that; but, this is the closest I have found and so far seems to be working (and is significantly better than my previous ideas).
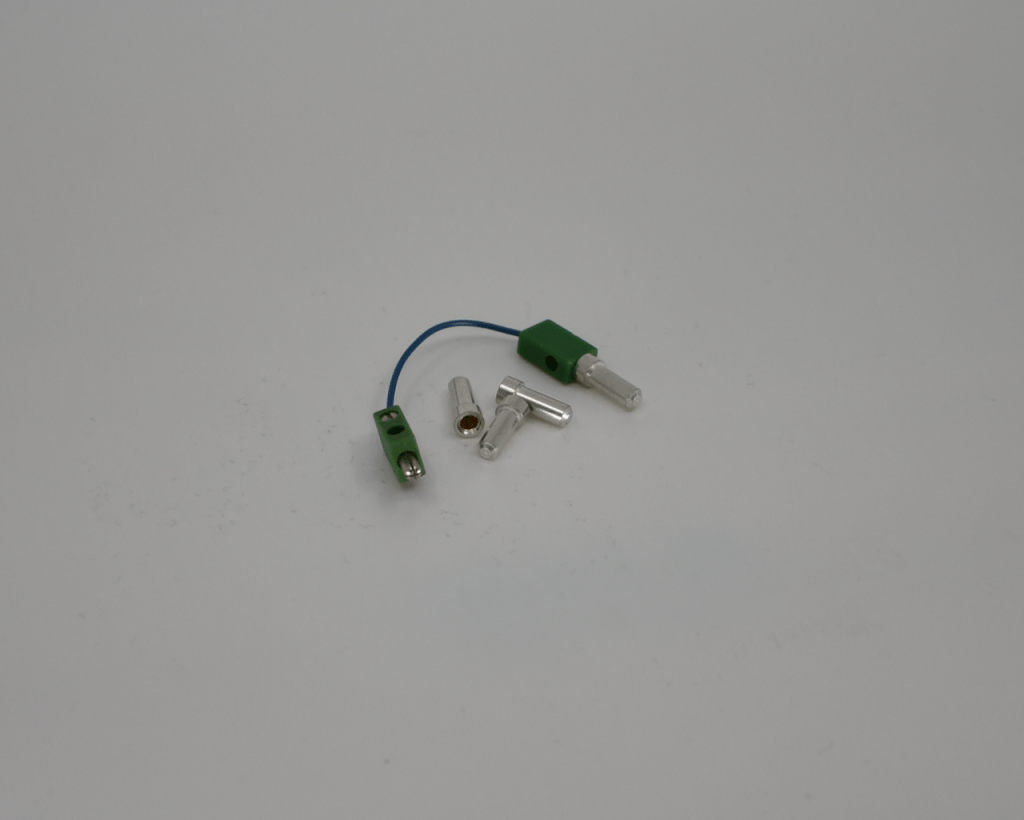
During assembly, I use a small dab of super glue in the countersink opening to hold the connector in place. This seems to be working well so far, though only time will tell if it stands up. I did leave the connectors slightly proud of the front surface both for aesthetic reasons and to be sure the plugs could be fully snapped in.
The wiring is very simple – I measured two lengths of wire (one for positive, one for ground) against the as-printed distance between the connectors. I then left a generous amount on each side in order to use a wire-wrap like technique (I shy away from calling it true wire wrapping, given that this is more… improvisational). Each wire then has the insulation removed from both ends; but left in the middle.
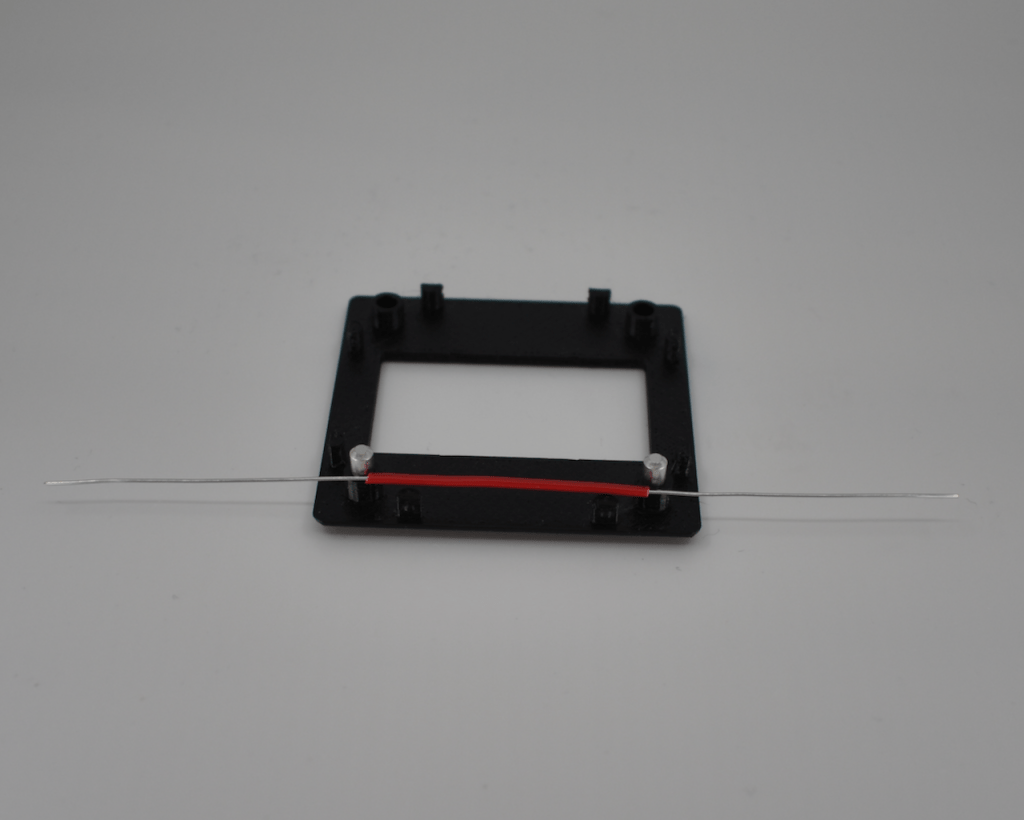
Each lead from the voltmeter is soldered to the appropriate length of connector wire and then the wire is wrapped around the end of the connector. This is worth going a bit slowly on in order to get a tight wrapping so the connection holds.

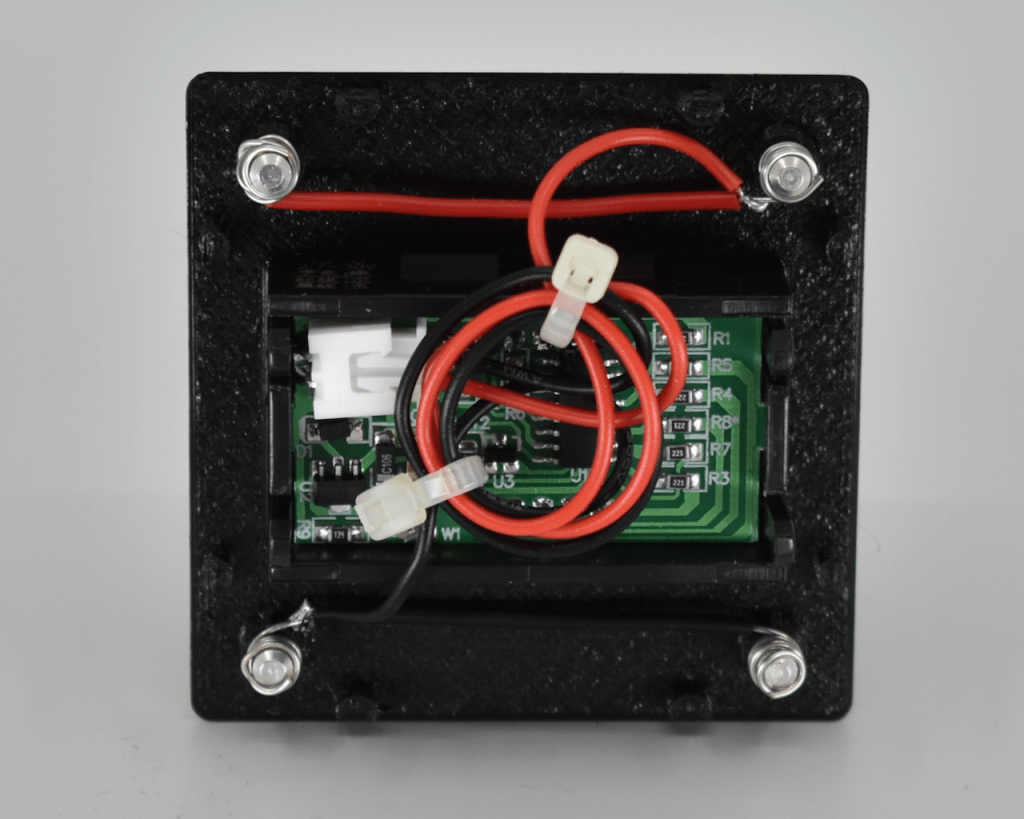
Rather than clip the leads from the voltmeter to length, I used a couple of zip ties to keep the leads tidy. This was only due to wanting some insurance in case things went awry and I’ll likely go back, trim to fit, and resolder them at some point.
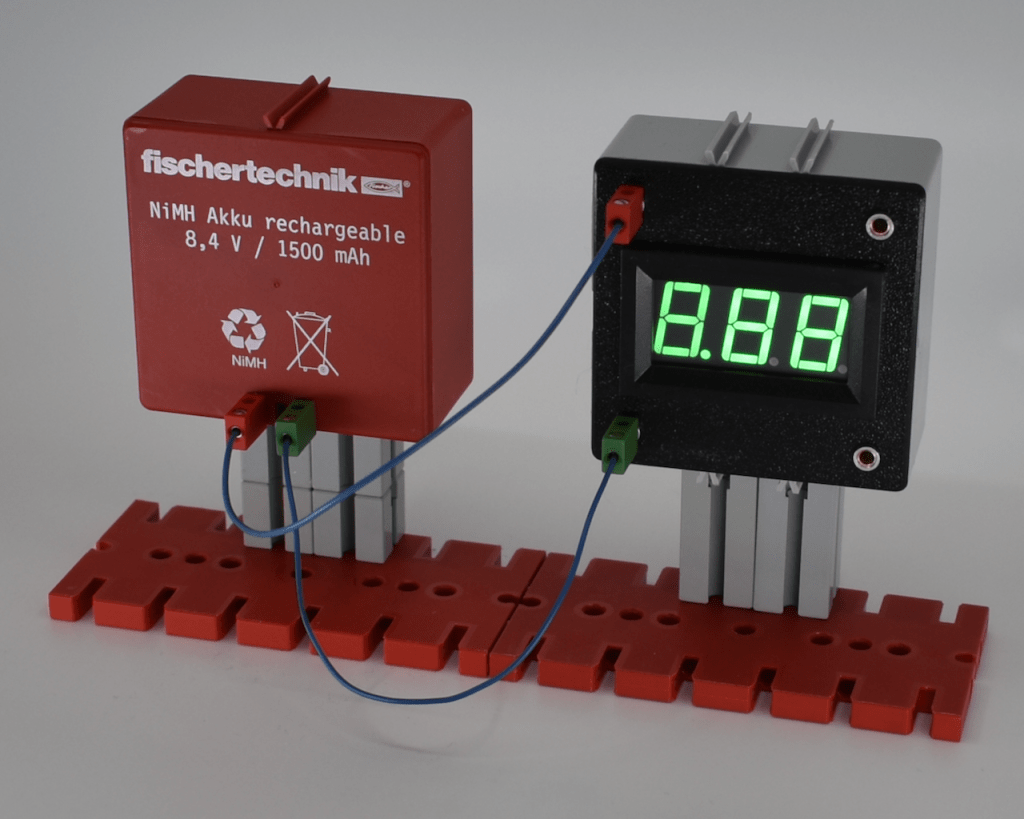
In the end, this makes for a compact but easily readable voltage display.
Bill of Materials
| Item | Quantity |
|---|---|
| Connectors | 4 |
| Panel Volt Meter – 4.5V to 30VDC | 1 |
| 3D Printed Lid | 1 |
