
This is a 3D printed potentiometer holder which is compatible with fischertechnik blocks. My goals in designing this are:
- Stay as compact as reasonable, so this doesn’t steal the focus from the overall model
- Make sure it’s large enough for the knob and sockets to be comfortably usable
- Try to make it intuitive to use – this drove the relief schematic symbol

Assembly
After printing and cleaning up any stray filament:
- Paint the inside of the potentiometer symbol. I found that three coats of acrylic paint yielded a good result, cleaning up the surrounding surface using a small amount of alcohol on a paper towel after each coat.
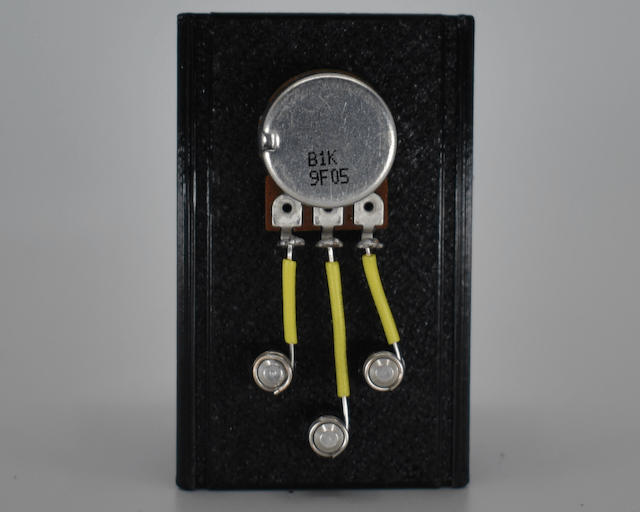
- Insert the connectors into the holes. I recommend using a small amount of super glue in the countersunk opening to fix the connector to the lid.
- Insert the potentiometer into the larger hole and fasten it firmly.
- Strip enough insulation from each end of three wires to wrap around the connectors.
- Solder each wire to the appropriate potentiometer connector.
- Wrap the connector wires around the posts.
- Attach the knob to the potentiometer, if you went with the Brutalist know listed above, you should be able to use the standard fischertechnik screwdriver for this.
Bill of Materials
| Item | Quantity |
|---|---|
| Connectors | 3 |
| Brutalist Knob in Grey | 1 |
| 16mm Potentiometers – 1/4″ Smooth Shaft – Solder Lug | 1 |
| 3D Printed Holder | 1 |
| Connector Wire | to fit |
